Welcome to the Kenmore Washing Machine Model 110 Repair Manual․ This guide provides comprehensive instructions for troubleshooting, maintaining, and repairing your appliance effectively and safely․
1․1 Purpose of the Repair Manual
The purpose of this repair manual is to provide users with a detailed guide for diagnosing, maintaining, and repairing the Kenmore Washing Machine Model 110․ It serves as a comprehensive resource for both novice and experienced individuals, ensuring safe and effective troubleshooting․ The manual covers various aspects of the appliance, including common issues, step-by-step repair procedures, and essential safety precautions․ By following the instructions outlined in this guide, users can extend the lifespan of their washing machine, reduce repair costs, and maintain optimal performance․ The manual is designed to empower users with the knowledge and confidence to handle repairs independently, while also emphasizing safety to prevent accidents and damage to the appliance․
1․2 Scope of the Manual
This repair manual is designed to cover a wide range of topics related to the Kenmore Washing Machine Model 110, providing detailed guidance for users․ It includes troubleshooting common issues, step-by-step repair procedures, and maintenance tips to ensure optimal performance․ The manual is intended for homeowners, DIY enthusiasts, and technicians seeking to repair or maintain the appliance․ It covers essential components, diagnostic techniques, and safety protocols to help users identify and resolve problems effectively․ The scope also includes practical advice for extending the machine’s lifespan and preventing future malfunctions․ However, it does not cover advanced technical modifications or repairs requiring specialized tools beyond the scope of standard maintenance․
1․3 Safety Precautions for Repair
Before attempting any repairs on your Kenmore Washing Machine Model 110, it is essential to follow proper safety precautions to avoid injuries or further damage․ Always unplug the machine from the power source to ensure no electrical hazards․ Wear protective gloves and eyewear when handling sharp or heavy parts․ Never attempt repairs while the machine is in operation or contains water․ Ensure the drum is empty and the machine is stable before starting work․ Avoid using unauthorized replacement parts, as they may compromise safety and functionality․ Follow all instructions carefully, and if unsure about a procedure, consult a professional technician․ Additionally, keep children and pets away from the repair area to maintain a safe environment․
Product Overview
The Kenmore Washing Machine Model 110 is a reliable, top-loading appliance designed for efficient laundry cleaning․ It features a durable design, multiple wash cycles, and robust construction for long-term performance․
2․1 Key Features of the Kenmore Model 110
The Kenmore Model 110 washing machine is known for its reliability and straightforward design, making it a popular choice for household laundry needs․ Key features include a durable top-loading mechanism, multiple wash cycles for different fabric types, and a robust gearbox for consistent performance․ The machine also incorporates a user-friendly control panel with easy-to-operate dials, allowing for precise cycle selection․ Additionally, it features a stainless steel tub for long-lasting durability and resistance to corrosion․ The Model 110 is designed with energy efficiency in mind, offering balanced performance while minimizing water and electricity usage․ Its compact design makes it suitable for various kitchen or laundry room layouts․ Overall, the Kenmore Model 110 is a practical and efficient appliance for everyday use․
2․2 Design and Components
The Kenmore Model 110 washing machine features a classic top-loading design with a straightforward mechanical structure․ Its durable construction includes a stainless steel tub, which ensures longevity and resistance to rust․ The machine is equipped with a reliable gearbox that drives the agitation and spin cycles, providing consistent performance․ The control panel is simple and intuitive, with dials for selecting wash cycles and water temperature․ Key components include the lid switch, water pump, and motor, all designed to work together seamlessly․ The machine’s compact size and balanced weight make it stable during operation, reducing vibration and noise․ This practical design ensures easy maintenance and repair, making it a favorite among homeowners for its dependability and simplicity․
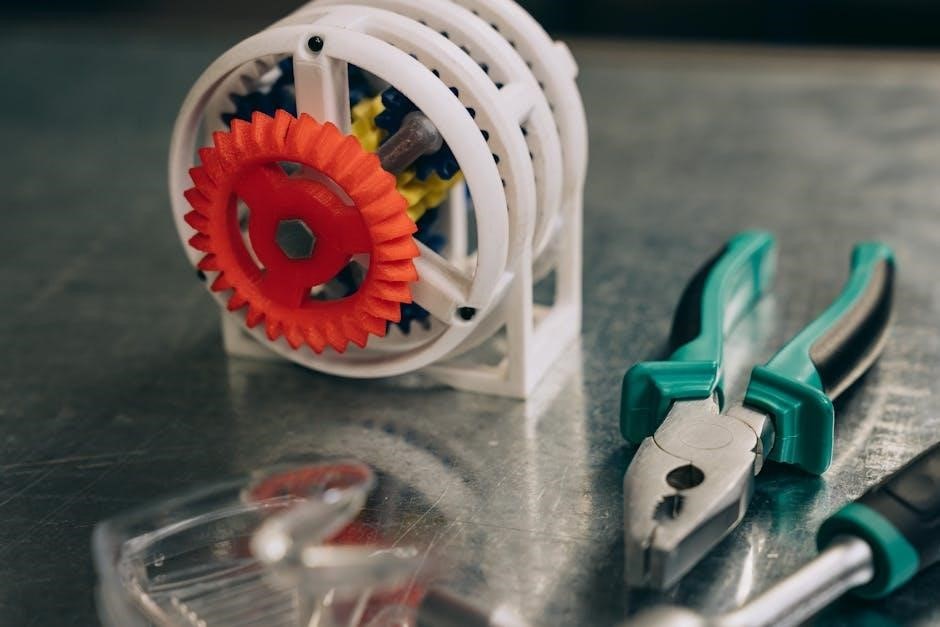
2․3 Parts Diagram and Identification
A detailed parts diagram is essential for identifying and understanding the components of your Kenmore Model 110 washing machine․ This visual guide provides a clear layout of the machine’s internal and external parts, making it easier to locate specific components during repairs․ Major parts include the control panel, tub, agitator, motor, gearbox, lid switch, and water pump․ Each part is labeled with reference numbers, which correspond to a parts list for easy identification․ Familiarizing yourself with the diagram helps in diagnosing issues and ensures you order the correct replacement parts․ By cross-referencing the diagram with the parts list, you can efficiently locate and replace faulty components, saving time and effort during the repair process․
Common Issues and Troubleshooting
This section addresses frequent problems with the Kenmore Model 110, such as faulty lid switches, motor issues, and drainage problems, offering practical solutions for quick fixes․
3․1 Most Common Problems with the Model 110
The Kenmore Model 110 washing machine often experiences issues such as a faulty lid switch, which prevents the machine from operating․ Motor malfunctions and worn-out belts are also common, leading to noisy operation or complete stoppage․ Drainage problems, often caused by clogged hoses or a faulty pump, can result in water remaining in the tub after cycles․ Additionally, users may encounter issues with the control panel, such as unresponsive buttons or incorrect cycle settings․ These problems can disrupt normal functioning and require timely attention to prevent further damage․ Regular maintenance and prompt repairs are essential to ensure optimal performance and extend the machine’s lifespan․
3․2 Diagnostic Techniques for Identifying Faults
Diagnosing issues with the Kenmore Model 110 washing machine begins with observing symptoms and error codes․ Listening for unusual noises, such as grinding or rattling, can indicate problems with the motor or bearings․ Checking the machine’s error codes, such as “L” for lid switch issues or “F” for faulty sensors, provides specific clues․ Visual inspections of hoses, belts, and connections are crucial to identify visible damage or blockages․ Testing components like the lid switch or motor with a multimeter ensures electrical functionality․ Running a diagnostic cycle or a clean cycle can also help pinpoint issues․ By systematically isolating each component, users can accurately identify faults and take appropriate repair actions to restore the machine’s functionality efficiently․
3․3 Error Codes and Their Meanings
The Kenmore Model 110 washing machine displays error codes to indicate specific issues․ Common codes include “L” for lid switch problems, “F” for faulty sensors, and “E” for drainage issues․ Each code corresponds to a particular malfunction, guiding users to the root cause․ For example, “Sd” or “PS” may indicate imbalance or oversudsing, while “H” signals a heating error․ Understanding these codes allows users to address problems effectively, whether it’s checking the lid switch, ensuring proper drainage, or balancing the load․ Referencing the error code chart in this manual helps users decode and resolve issues quickly, preventing further damage and ensuring optimal performance․ Always consult the manual for precise interpretations and solutions tailored to your Kenmore Model 110 washer․
Safety Precautions and Guidelines
Always disconnect power before starting repairs․ Wear protective gear like gloves and safety glasses․ Ensure proper ventilation and avoid overloading the machine․ Follow manual instructions carefully․
4․1 General Safety Tips for Repair
When performing repairs on your Kenmore Washing Machine Model 110, always prioritize safety to avoid injuries or further damage․ Begin by disconnecting the power supply and ensuring the machine is unplugged from the electrical outlet․ Wear protective gear, such as gloves and safety glasses, to safeguard against sharp edges or debris․ Never attempt repairs while the machine is operational or under power․ Ensure the work area is well-ventilated and free from clutter․ Use only authorized tools and avoid using makeshift instruments, as they may cause accidents․ Additionally, never bypass safety features or tamper with electrical components without proper knowledge․ Always refer to the manual for guidance and follow instructions carefully to ensure a safe and successful repair process․
4․2 Electrical Safety Measures
When working on your Kenmore Washing Machine Model 110, adhere to strict electrical safety measures to prevent shocks or injuries․ Always unplug the machine from the power source before starting any repair․ Verify that the power is off using a multimeter to ensure no residual voltage remains․ Avoid touching internal electrical components with bare hands, as static electricity or residual charges may still pose a risk․ Use insulated tools to handle wires or circuits, and never attempt to bypass safety features like ground wires․ If unsure about any electrical procedure, consult a licensed technician․ Keep children and pets away from the work area․ Always follow the manufacturer’s guidelines for electrical repairs to ensure safety and compliance with regulations․
Tools and Equipment Needed for Repair
Essential tools include screwdrivers, wrenches, pliers, and a multimeter․ Specialized tools like a torque wrench may be required for specific repairs․ Ensure all tools are insulated for safety․
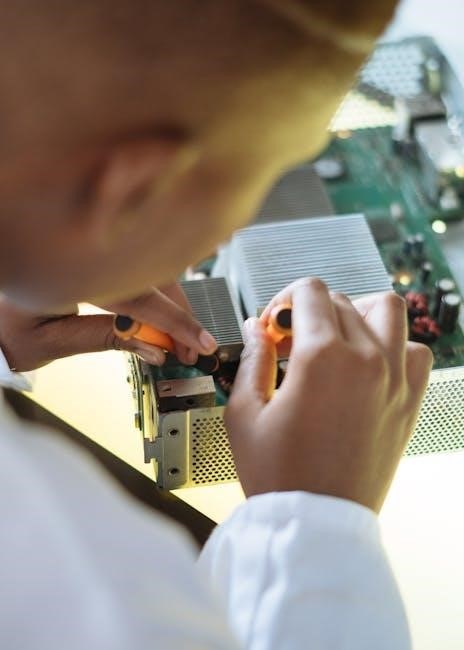
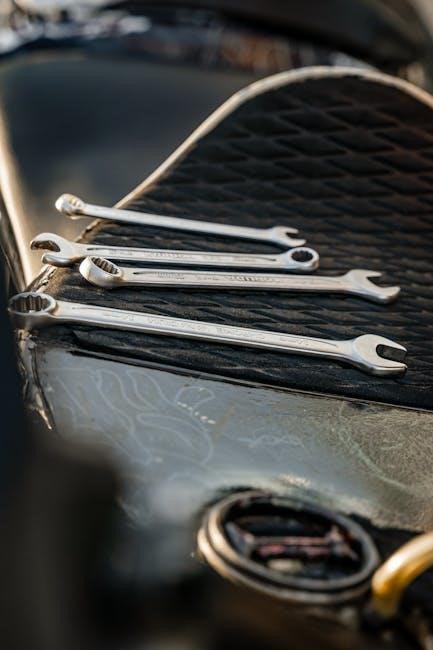
5․1 Essential Tools for Disassembly and Reassembly
For disassembling and reassembling your Kenmore Model 110 washing machine, you will need a set of basic tools․ These include a Phillips screwdriver, flathead screwdriver, adjustable wrench, pliers, and a socket set․ A Torx driver may also be required for specific components․ Ensure all tools are of high quality and suitable for the task at hand․ Additionally, keep a work light nearby to illuminate the interior during repairs․ Always use insulated tools to prevent electrical shocks․ Having a workbench or sturdy surface for disassembly can also make the process more efficient․ Organize your tools and parts to avoid misplacement during reassembly․ Proper preparation ensures a safe and successful repair experience․
5․2 Specialized Tools Required for Specific Repairs
For certain repairs on the Kenmore Model 110, specialized tools are necessary․ A multimeter is essential for diagnosing electrical issues, while a bearing puller may be needed for replacing the tub bearings․ A seal installer ensures proper fitting of water seals, preventing leaks․ A tub ring tool is required for removing and reinstalling the tub ring safely․ Additionally, a gear puller can be useful for motor or gearbox repairs․ These tools are not part of a standard toolkit but are crucial for specific tasks․ Always refer to the parts diagram to identify which specialized tools are required for your repair․ Using the correct tools ensures precision and prevents further damage to the machine․
Disassembly and Reassembly Guide
Welcome to the Kenmore Washing Machine Model 110 Disassembly and Reassembly Guide․ This section provides step-by-step instructions for safely dismantling and reassembling your washer for repairs․
6․1 Step-by-Step Disassembly Process
Begin by disconnecting the power and water supply to ensure safety․ Remove the top panel using a screwdriver to access internal components․ Next, take out the front panel screws and gently pull it forward to expose the tub and motor․ Disconnect the lid switch and any electrical connections carefully․ Use pliers to remove the drain pump and hoses․ Unscrew the tub support brackets and lift the tub out for access to the gearbox and motor․ Document each step to ensure proper reassembly․ Always refer to the parts diagram for clarity․ Proceed methodically to avoid damaging critical components․ Safety and organization are key during disassembly․
6․2 Reassembly Tips and Tricks
When reassembling the Kenmore Model 110, align components precisely to ensure proper fit․ Reattach electrical connectors securely to avoid malfunctions․ Reinstall the tub and gearbox carefully, ensuring balance․ Tighten screws gradually to maintain alignment․ Reconnect hoses and belts, verifying tightness․ Replace the front and top panels, double-checking screw placement․ Test the machine post-reassembly to confirm functionality․ Keep the parts diagram handy for reference․ Use a torque wrench for critical bolts to prevent over-tightening․ Apply lubricant to moving parts if necessary․ Reassembly requires patience and attention to detail to restore optimal performance․ Consulting the manual or a professional for complex steps is advisable to avoid errors․
Repair Procedures for Common Parts
This section guides you through repairing key components, such as the lid switch, motor, and belts․ Follow detailed steps to ensure proper functionality and longevity․
7․1 Replacing the Lid Switch
Replacing the lid switch on your Kenmore Model 110 washing machine is essential for ensuring safe and proper operation․ The lid switch prevents the machine from running when the lid is open․ To replace it, first disconnect power and water supply for safety․ Locate the switch, typically found near the lid locking mechanism․ Use a screwdriver to remove the mounting screws and gently pull out the old switch․ Install the new switch by aligning it correctly and securing it with the screws․ Finally, reconnect the wiring harness and test the machine to ensure the switch functions properly․ Always follow safety guidelines and consult diagrams if needed․
7․2 Fixing the Motor and Gearbox
The motor and gearbox are critical components of your Kenmore Model 110 washing machine, responsible for driving the wash and spin cycles․ If you notice unusual noises, vibration, or failure to start, these parts may need attention․ Begin by disconnecting power and water supply for safety․ Access the motor by removing the rear panel and disconnecting electrical connectors․ Inspect the motor for signs of wear or damage․ If the gearbox is faulty, replace it by removing the mounting bolts and installing a new one․ Ensure all connections are secure and test the machine to confirm proper operation․ Regular lubrication and inspection can prevent future issues․ Always refer to diagrams for precise guidance․
7․3 Replacing Belts and Hoses
Replacing belts and hoses in your Kenmore Model 110 washing machine is essential for maintaining optimal performance․ Start by disconnecting power and water supply for safety․ Locate the belts and hoses, typically found near the motor and pump․ Inspect belts for cracks or wear and hoses for leaks or damage․ To replace, remove the old belt by loosening the tensioner and slide on the new one․ For hoses, disconnect clamps and replace with new ones, ensuring tight seals․ Regularly checking and replacing these parts can prevent breakdowns and extend the machine’s lifespan․ Always refer to the parts diagram for accurate identification and installation․
Maintenance and Preventative Care
Regular maintenance ensures your Kenmore Model 110 washing machine runs efficiently․ Clean the gasket, check hoses, and balance the machine to prevent vibrations and extend longevity․
8․1 Routine Maintenance Schedule
To keep your Kenmore Model 110 washing machine in optimal condition, follow a routine maintenance schedule․ Monthly, clean the detergent dispenser and gasket to prevent mold buildup․ Every 3-6 months, inspect and clean the drain pump filter to ensure proper water flow․ Annually, check and replace worn belts and hoses, and verify the machine’s balance to prevent vibrations․ Run a cleaning cycle with a washer cleaner or vinegar to remove residue and odors․ Additionally, leave the lid open after use to allow the interior to dry, reducing mildew growth․ Regular maintenance not only prevents breakdowns but also enhances performance and extends the machine’s lifespan․
8․2 Deep Cleaning the Washing Machine
Deep cleaning your Kenmore Model 110 washing machine is essential for removing built-up detergent residue, mold, and mildew․ Start by cleaning the gasket and seals with a mixture of equal parts water and white vinegar․ Run a hot water cycle with a washing machine cleaner or 1 cup of vinegar to sanitize the interior․ For tougher odors, add 1 cup of baking soda during the rinse cycle․ Regular deep cleaning prevents unpleasant smells and maintains hygiene․ Additionally, inspect and clean the drain pump filter to ensure proper water flow and prevent clogs․ Perform this deep cleaning process every 1-2 months to keep your washer fresh and functioning efficiently․
8․3 Tips for Extending the Lifespan of the Machine
To extend the lifespan of your Kenmore Model 110 washing machine, regular maintenance is crucial․ Always check and replace worn-out parts promptly to prevent further damage․ Leaving the lid open after use allows the interior to dry, reducing mold and mildew growth․ Balance loads evenly to avoid straining the motor and gearbox․ Inspect water hoses for cracks or damage and replace them if necessary․ Avoid using excessive detergent, as residue buildup can clog components․ Never overload the machine, as this can cause mechanical stress․ Lastly, schedule professional servicing annually to address hidden issues․ By following these tips, you can ensure your Kenmore Model 110 operates efficiently and lasts for years to come․
Warranty and Support Information
Your Kenmore Model 110 washing machine is backed by a limited warranty․ For detailed coverage and support, visit the official Kenmore website or contact customer service․
9․1 Understanding the Warranty Coverage
The Kenmore Model 110 washing machine comes with a limited warranty that covers parts and labor for defects in materials and workmanship․ The standard warranty period is one year from the date of purchase, with some components, like the motor and gearbox, often covered for an extended period․ To ensure warranty validity, proper registration and maintenance are required․ The warranty is transferable to a new owner if the appliance is sold, provided the original purchase documentation is retained․ Coverage excludes damage caused by misuse, neglect, or unauthorized repairs․ Routine maintenance parts, such as belts and hoses, are typically not covered under the warranty․ For full details, refer to the warranty terms provided with your purchase or visit the Kenmore website․
9․2 Contacting Kenmore Customer Support
For any inquiries, repairs, or assistance with your Kenmore Model 110 washing machine, contact Kenmore Customer Support․ You can reach them via phone at 1-800-4MY-HOME (1-800-469-4663) or visit their official website at www․kenmore․com․ Live chat is also available on their website for immediate assistance․ Additionally, you can email Kenmore through the “Contact Us” form on their site․ Representatives are available Monday through Friday, 8 AM to 8 PM EST, to address your concerns․ For urgent issues, ensure you have your model number and purchase details ready․ Kenmore also offers support through their social media platforms, providing another convenient way to connect with their team․
This manual empowers you to maintain and repair your Kenmore Model 110 washing machine effectively․ Follow the guidelines for safe and successful DIY repairs and routine care․
10․1 Key Takeaways from the Repair Manual
The Kenmore Model 110 repair manual offers essential insights for effective troubleshooting and maintenance․ Understanding error codes, adhering to safety protocols, and using the right tools are crucial for successful repairs․ Regular maintenance, such as cleaning and inspecting parts, can prevent common issues like clogged hoses or worn belts․ Replacing components like the lid switch or gearbox requires precision and care․ Always refer to the parts diagram for accurate identification and disassembly․ By following the step-by-step guides and tips provided, you can extend the lifespan of your washing machine and ensure optimal performance․ Remember, safety should always be your top priority during any repair process․
10․2 Final Tips for Successful Repairs
For successful repairs, always prioritize patience and organization․ Gather all necessary tools and create a clean workspace before starting․ Refer to the parts diagram to ensure accurate disassembly and reassembly․ After completing repairs, test the machine thoroughly to confirm proper functionality․ Regularly inspect belts, hoses, and seals to prevent future issues․ Maintain a routine maintenance schedule to extend the machine’s lifespan․ When handling electrical components, double-check connections to avoid malfunctions․ Follow manufacturer guidelines for replacement parts to ensure compatibility․ Lastly, always unplug the machine before starting repairs to ensure your safety․ By adhering to these tips, you’ll achieve professional-level results and keep your Kenmore Model 110 washing machine running efficiently for years․