Welcome to the Browning Trail Camera Manual! Capture wildlife with clarity and precision using Browning’s cutting-edge game cameras, designed for reliability and superior image quality in any setting.
Overview of the Browning Trail Camera
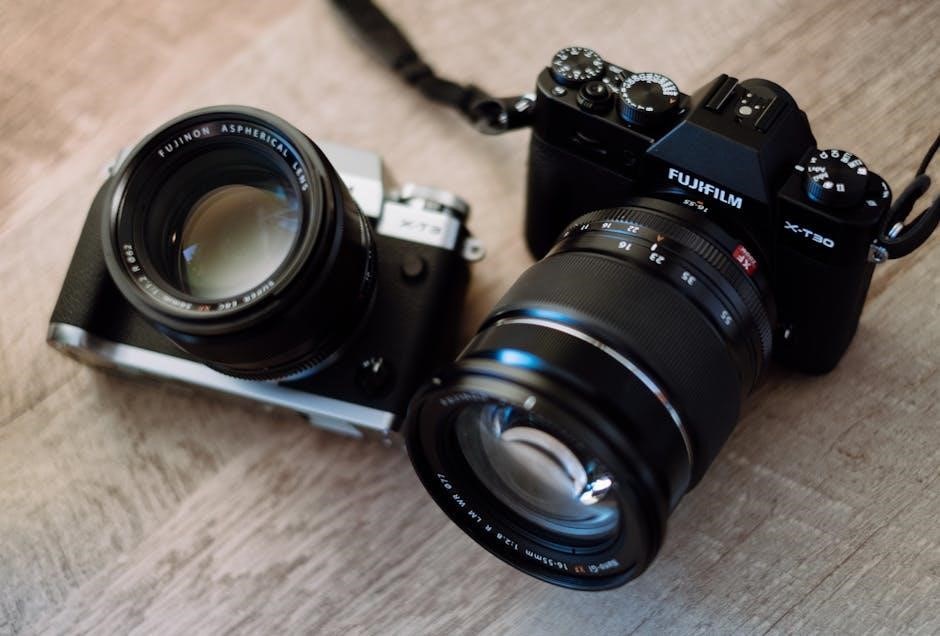
The Browning Trail Camera is a high-performance wildlife monitoring tool designed for capturing crisp, high-resolution images and videos in various environments. Known for its durability and advanced features, it offers 20MP still photos and 1920×1080 video quality, ensuring detailed visuals day and night. With a fast trigger speed of less than one second, it minimizes missed shots, making it ideal for wildlife scouting. Equipped with a long-range IR flash and PIR motion sensor, it efficiently detects and captures motion. Built with robust materials, the camera withstands harsh outdoor conditions, making it a reliable choice for hunters and outdoor enthusiasts seeking precise and consistent results. Its user-friendly design and customizable settings further enhance its versatility for diverse monitoring needs.
Importance of Reading the Manual
Reading the Browning Trail Camera manual is essential for optimal performance and understanding its advanced features. The manual provides detailed guidance on setup, customization, and troubleshooting, ensuring you maximize the camera’s capabilities. It explains how to navigate the menu, adjust settings like sensitivity and timer, and utilize features such as time-lapse and motion detection. By understanding the camera’s operation, you can avoid common issues and ensure high-quality images. The manual also offers tips for mounting, battery management, and storage, helping you achieve the best results in various environments. Taking the time to review the manual will enhance your overall experience and help you capture wildlife effectively.
Unboxing and Initial Setup
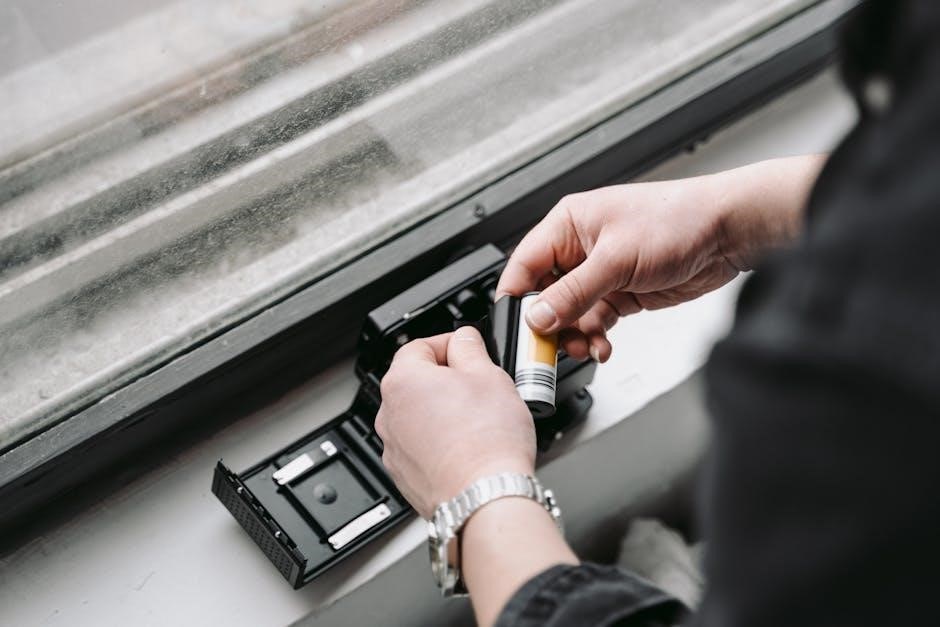
Unboxing your Browning Trail Camera reveals a sleek, durable device ready for wildlife monitoring. Initial setup involves inserting batteries, formatting the SD card, and setting the date/time for precise capture.
Items Included in the Box
Inside the box, you’ll find the Browning Trail Camera, a comprehensive user manual, a mounting strap, and a tree mount bracket for secure installation. Additionally, a USB cable is provided for image and video transfer to your computer. Some models may include a rechargeable lithium-ion battery pack or a solar battery pack option. Ensure all items are accounted for before initial setup. The camera itself features a high-resolution sensor, infrared flash, and motion detection capabilities, ensuring crisp images day and night. The manual details setup, customization, and troubleshooting, making it an essential guide for optimal camera performance.
Understanding the Camera Components
Familiarize yourself with the Browning Trail Camera’s key components to ensure optimal use. The camera features a high-quality lens for capturing sharp images, a PIR (Passive Infrared) motion sensor to detect movement, and an infrared LED array for night vision. The LCD display screen allows you to preview photos, videos, and settings. The camera also includes a USB port for data transfer and an SD card slot for storage expansion. Additionally, the mounting bracket and strap enable secure installation in the field. Understanding these components will help you maximize the camera’s performance and customize its settings to suit your scouting needs.

Mounting the Camera
Securely mount your Browning Trail Camera in an optimal location, ensuring the field of view is clear of debris. Adjust the angle downward if mounted high for best results.
Choosing the Ideal Location
Position your Browning Trail Camera in an area with high wildlife activity, such as game trails or near water sources. Aim for a distance of 25-35 feet from the subject to ensure clear images. Clear debris like branches or leaves from the camera’s field of view to avoid obstruction. If mounting the camera at a height, angle it downward to focus on the target area. Ideally, place the camera at a height where it can effectively capture wildlife while remaining out of reach from humans or pets. Consider facing the camera north or east to minimize glare from the sun. This setup ensures optimal performance and image quality.
Adjusting the Camera Angle
Properly adjusting the camera angle ensures optimal wildlife capture. Position the camera to face the area where wildlife is most active, typically along trails or pathways. If the camera is mounted high, tilt it downward to focus on the target zone. Use the built-in adjustment brackets or straps to fine-tune the angle. Ensure the sensor and lens are unobstructed by branches or debris. Test the angle by observing the camera’s field of view and adjust as needed. For best results, align the camera to capture the subject’s movement corridor at a 25-35 foot range. This setup maximizes image clarity and motion detection effectiveness.
Types of Mounts Available
Browning trail cameras offer versatile mounting options to suit various setups. The most common is the tree mount, which includes a adjustable strap or locking system for securing the camera to a tree trunk. For added flexibility, tripod mounts allow placement on level ground or elevated surfaces. Additionally, clamp mounts and pole mounts provide stability for fences or poles. Each mount type ensures secure positioning, enabling optimal camera performance. Whether in dense woods or open fields, Browning’s mounting solutions adapt to your environment, ensuring the camera captures wildlife effectively. Choose the right mount based on your location and desired camera placement for reliable results.
Camera Settings
Customize your Browning trail camera with settings like trigger speed, motion detection, and time-lapse to capture wildlife effectively. Adjust sensitivity and timers for optimal performance in various environments.
Basic Settings: Date, Time, and Resolution
Configuring the basic settings on your Browning trail camera is essential for proper functionality. Start by setting the correct date and time, as this ensures accurate timestamping of images and videos. Next, choose the resolution that best suits your needs. Higher resolutions provide clearer images but consume more storage. Options typically range from 720p to 1080p for video and up to 20MP for photos. Ensure these settings are correctly configured before deploying the camera to avoid missing crucial data. Proper setup guarantees precise and reliable monitoring of wildlife activity on your property.
Advanced Settings: Sensitivity and Timer
Adjusting the sensitivity and timer settings on your Browning trail camera enhances its performance; Sensitivity controls motion detection, with higher levels capturing more movement but potentially causing false triggers. Lower sensitivity reduces unnecessary activations, ideal for areas with frequent small animal activity. The timer function allows you to set intervals between image captures, conserving battery life and storage. For example, a 1-minute timer ensures continuous monitoring without overwhelming the SD card. Experiment with these settings to balance detection accuracy and resource efficiency, ensuring optimal performance for your wildlife monitoring needs. Proper configuration of these advanced features maximizes the camera’s effectiveness in capturing the desired footage.
Customizing video and photo settings on your Browning trail camera allows for tailored results. Videos can be set to record in resolutions up to 1080p, with adjustable durations from 5 to 120 seconds. Still photos can be captured in high-resolution formats, with options for single shots or multi-shot bursts. Additionally, you can enable timestamp and geotagging features to document when and where images are taken. These settings ensure that your camera captures exactly what you need, whether it’s detailed wildlife observations or property surveillance. Proper customization enhances the quality and relevance of the images and videos captured, making it easier to analyze and utilize the footage effectively. Browning trail cameras require high-quality batteries and proper storage setup. Use lithium batteries for optimal performance and consider SD cards with capacities up to 128GB for ample storage. For optimal performance, Browning trail cameras require high-quality batteries. Lithium batteries are strongly recommended due to their superior energy density and longer lifespan. They provide reliable power in extreme temperatures, ensuring your camera operates consistently. Rechargeable lithium-ion battery packs are also a cost-effective option. Always use batteries with a voltage rating of 1.5V or higher to maintain camera functionality. Avoid alkaline batteries, as they may degrade quickly in cold conditions. Properly stored batteries will last up to 8-12 months, depending on usage. Ensure batteries are fresh and check expiration dates before installation for uninterrupted operation. This ensures your camera captures every moment without fail. Choosing the right SD card is essential for your Browning trail camera to function optimally. A minimum of 32GB is recommended, but for extended use, a 64GB or 128GB card is ideal, allowing ample storage for photos and videos. Use a high-quality Class 10 SD card to ensure fast write speeds and reliable performance. Always format the SD card in the camera before use to prevent errors. Avoid using low-capacity or low-speed cards, as they may lead to data loss or slow performance. Regularly check and replace the SD card to ensure continuous operation and high-quality image capture. Proper storage management maximizes your camera’s efficiency and ensures you never miss crucial footage. To maximize battery life for your Browning trail camera, follow these power-saving tips. Use high-quality lithium batteries for optimal performance, especially in cold conditions. Lower the sensitivity settings if motion detection frequency isn’t critical. Enable the timer function to limit continuous operation during inactive periods. Use the camera’s low-power mode or schedule it to turn on only during peak wildlife activity times. Ensure the PIR sensor is clean and free of debris for efficient motion detection. Mount the camera in a shaded area to reduce unnecessary triggering from sunlight. Regularly check battery levels and replace them before they fully drain. By implementing these strategies, you can extend the camera’s operational time and reduce maintenance needs. Operate your Browning trail camera effortlessly with rapid trigger speeds and accurate motion detection. Capture crisp day and night images, then review them via the built-in screen or TV out feature for efficient wildlife monitoring. Browning trail cameras deliver exceptional performance with ultra-fast trigger speeds, capturing images in less than one second. Equipped with advanced motion detection, they accurately detect movement within a 25-35 foot range, ensuring no activity is missed. The PIR (Passive Infrared) sensor is highly sensitive, minimizing false triggers and optimizing battery life. These features make Browning cameras ideal for wildlife monitoring, offering reliable and efficient results. Proper placement and debris clearance are crucial for optimal performance, ensuring clear and undisturbed image capture day or night. Browning trail cameras excel in capturing high-resolution images both day and night. During daylight, they produce vibrant, detailed photos with accurate color representation. At night, the infrared flash ensures clear, black-and-white images without startling wildlife. The camera’s sensors are optimized to handle varying light conditions, delivering crisp visuals even in low-light environments. With models offering up to 20MP still photos and 1080p video, Browning cameras provide exceptional clarity for monitoring wildlife. The invisible IR flash on select models, such as the BTC-PATRIOT-FHD, minimizes animal disturbance while maintaining image quality, making these cameras a reliable choice for 24/7 surveillance. Viewing images and videos on your Browning trail camera is straightforward. Use the TV Out feature to connect directly to a television for easy playback. Alternatively, remove the SD card and insert it into a computer or card reader to access your media. The camera’s internal menu also allows for on-device playback, enabling you to review footage without additional equipment. Browning cameras often include features like full HD video and timestamp information, ensuring detailed and organized content. For optimal results, transfer files to a computer for enhanced viewing and storage. This method also helps in managing and organizing your wildlife monitoring data efficiently. Troubleshooting your Browning trail camera involves identifying common issues like motion detection failures or image quality problems. Refer to the manual for detailed solutions to ensure optimal performance. Most issues with Browning trail cameras can be resolved with simple troubleshooting. If the camera isn’t turning on, check the battery connections and ensure they’re charged. For motion detection problems, clear debris from the PIR sensor and adjust sensitivity settings. If images are blurry, ensure the camera is level and free from obstructions. For no image capture, verify the SD card is properly inserted and formatted. Resetting the camera to factory settings can often resolve unexpected behavior. Always refer to the manual for specific guidance tailored to your model for quick and effective solutions. To reset your Browning trail camera, locate the small reset button on the bottom or side of the camera, depending on the model. Use a pin or small object to press and hold the reset button for 10-15 seconds until the camera powers off and on again. This will restore default settings, clearing all custom configurations. After resetting, the camera will restart, and you’ll need to reconfigure basic settings like date, time, and resolution. Ensure the SD card is properly formatted before use. Resetting is ideal for resolving software-related issues or starting fresh with factory settings. Updating your Browning trail camera’s firmware ensures optimal performance and access to the latest features. Visit the Browning website to download the newest firmware version for your specific model. Transfer the firmware file to an SD card using a computer, then insert the SD card into the camera. Navigate to the settings menu, select “Firmware Update,” and follow the on-screen instructions. Avoid interrupting the update process to prevent data corruption. Once complete, restart the camera to apply the changes. Regular firmware updates enhance functionality, improve image quality, and resolve potential bugs, ensuring your camera operates at its best. Always verify the file compatibility with your camera model before updating. Browning trail cameras offer advanced features like Time-Lapse for capturing images at set intervals, TV Out for viewing on a TV, and Scouting Camera Tips for effective wildlife monitoring. The Browning Trail Camera features a Time-Lapse mode, allowing you to capture images at set intervals (e.g., every 5-60 minutes). This is ideal for monitoring long-term activity patterns without constant monitoring. The Timelapse Viewer software helps you easily review these images, creating a condensed timeline of wildlife activity. This feature is particularly useful for observing seasonal changes, animal migration, or habitat use over time. By enabling Time-Lapse, you can efficiently gather data and identify trends, making it a valuable tool for hunters, researchers, and outdoor enthusiasts seeking insights into wildlife behavior and ecosystem dynamics. Proper setup ensures optimal results. The Browning Trail Camera features a TV Out port, enabling you to connect the camera directly to a television or monitor for easy image and video playback. This feature allows you to review your footage in real-time without needing to remove the SD card. For image retrieval, simply insert the SD card into a compatible reader or transfer the files to your computer using the provided USB cable. This ensures quick access to your photos and videos for analysis or sharing. The TV Out function is particularly useful for reviewing large numbers of images or videos in a more comfortable setting, making it a practical tool for scouting and wildlife monitoring. To maximize the effectiveness of your Browning Trail Camera, consider strategic placement in areas with high wildlife activity, such as game trails or water sources. Ensure the camera is positioned at a height that avoids obstructions and captures clear images. Regularly check and clear debris from the camera’s field of view to maintain optimal performance. Adjust settings like sensitivity and trigger speed based on the environment to minimize false triggers. Use the timelapse feature for long-term monitoring and review footage frequently to track patterns. Finally, always follow local regulations and respect wildlife habitats when deploying your scouting camera. Conclude your Browning Trail Camera journey with confidence. Regularly check and maintain your device for optimal performance. Explore advanced features for enhanced results. Respect wildlife and their habitats while capturing memorable moments. Refer to Wildlife Monitoring Solutions for additional guidance and support. For optimal use of your Browning Trail Camera, ensure the camera is positioned in an area with clear visibility, ideally 25-35 feet from the subject. Regularly inspect and clear debris like leaves or branches from the camera’s field of view to avoid obstructing images. When mounting the camera at a height, angle the lens downward to focus on the target area. Use high-quality batteries and SD cards to maintain performance. Avoid touching the camera’s sensors to prevent smudging. Familiarize yourself with the camera’s settings menu to customize features like sensitivity, timer, and resolution for desired results. Check the camera periodically to ensure it remains secure and functional. By following these practices, you’ll maximize the effectiveness of your Browning Trail Camera for capturing high-quality images and videos. For optimal wildlife monitoring, consider positioning your Browning Trail Camera near game trails, water sources, or feeding areas to increase the likelihood of capturing images. Periodically check the camera to ensure it remains securely fastened and free from damage caused by weather or wildlife. Utilize the camera’s advanced features, such as time-lapse and motion sensitivity, to customize monitoring based on your needs. Regularly review and transfer images to avoid filling the SD card and ensure you don’t miss important data. Store batteries and memory cards properly to maintain performance. By combining strategic placement, regular maintenance, and thoughtful use of features, you’ll achieve successful and rewarding wildlife monitoring with your Browning Trail Camera.Customizing Video and Photo Settings
Battery and Storage Management
Recommended Battery Types
SD Card Capacity and Recommendations
Power-Saving Tips
Using the Camera
Trigger Speed and Motion Detection
Day and Night Image Quality
Viewing Images and Videos

Troubleshooting
Common Issues and Solutions
Resetting the Camera
Updating Firmware
Additional Features
Time-Lapse and Timelapse Viewer
TV Out and Image Retrieval
Scouting Camera Tips
Best Practices for Optimal Use
Final Tips for Successful Wildlife Monitoring